How Proper Ground Prep Sets Your Project up to Thrive
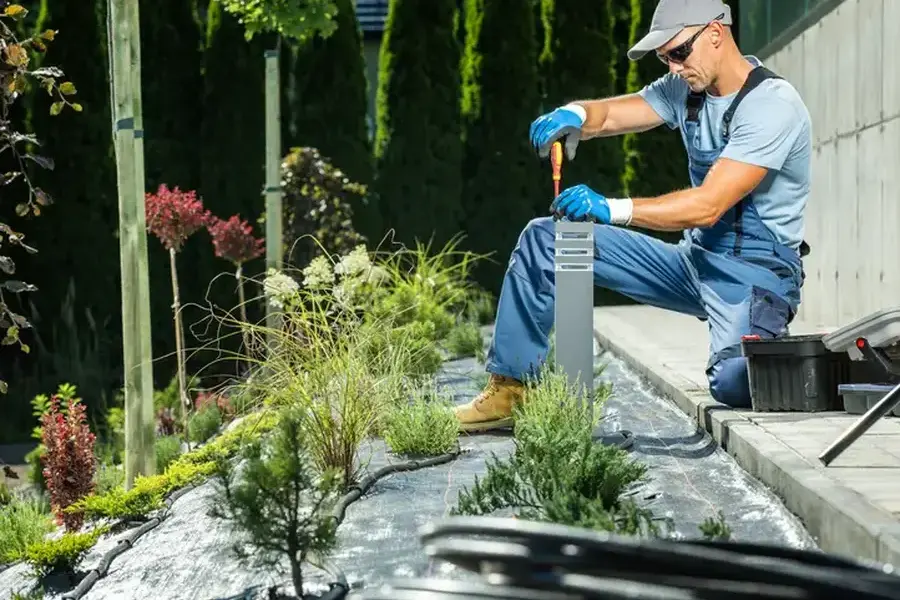
Soil preparation for landscape installation success starts with healthy, stable ground. Before any plants, sod, or hardscape go in, the soil must be tested, cleared, graded, and improved. Good prep helps roots grow deep, prevents drainage problems, and keeps your yard looking great for years. Skipping this step often leads to patchy grass, sinking pavers, and stressed plants.
Quick Answer: What Matters Most
The most important parts of soil prep are testing the soil, fixing drainage, adding the right amendments, and compacting or loosening the ground as needed. Solid prep work supports every part of a successful landscape installation. When the base is right, everything above it performs better.
What You Need Before Starting
Before you break ground, gather a few key items and details. This helps you avoid delays and poor results.
- Soil test results to check pH and nutrients
- A clear layout plan for plant beds, turf, and walkways
- Basic tools like a shovel, rake, and tamper
- Soil amendments such as compost or topsoil
- Access to water for settling and testing drainage
A soil test is especially helpful. It shows if your soil is too acidic, too sandy, or low on nutrients. That way, you fix the real issue instead of guessing.
Step-by-Step Process for Strong Soil
Follow these steps to prepare your yard the right way:
- Clear the area. Remove weeds, grass, rocks, and debris. Old roots left behind can cause uneven settling.
- Check drainage. Spray water on the soil and watch how it drains. Water should soak in, not pool for hours.
- Test and adjust pH. Use your soil test to guide lime or sulfur applications if needed.
- Add organic matter. Mix compost into the top 6 to 12 inches of soil. This improves structure and nutrients.
- Grade the surface. Shape the soil so water flows away from your home. Aim for a gentle slope.
- Compact or loosen as needed. Hardscape areas need firm, compacted soil. Plant beds need loose, airy soil for roots.
Each step supports the next phase of your landscape installation. For example, pavers laid on poorly compacted soil may sink within months. Plants placed in tight, clay-heavy soil may struggle to grow.
Common Mistakes to Avoid
Many yard problems trace back to rushed or skipped prep work. Watch out for these issues:
- Planting without testing the soil
- Adding too much sand to clay soil, which can make it harder
- Ignoring drainage near foundations
- Using low-quality fill dirt with debris mixed in
- Failing to remove invasive weeds completely
Another common mistake is uneven grading. Even a small dip can collect water and damage turf or plant roots. Taking time to level and smooth the area pays off later.
When to Call a Professional
Some projects are simple, like refreshing a small flower bed. Others are more complex. If your yard has major slopes, standing water, heavy clay, or large hardscape plans, professional help may be smart.
A trained crew can spot hidden issues such as poor subsoil, buried construction debris, or compaction from past equipment use. These problems can affect the long-term success of your landscape installation. Large projects also require proper equipment for grading and compaction.
If permits, drainage systems, or retaining walls are involved, expert support helps prevent costly fixes later.
Final Recommendation and Next Steps
Good soil preparation is the base of every great yard. Taking time to test, amend, grade, and prepare the ground makes planting easier and results stronger. In Martinsburg, WV, soil types and weather patterns can vary from one neighborhood to another. At JC Professional Professional Landscaping & Mulching, we handle soil preparation and full landscape installation projects with careful planning and skilled crews. Call us at (240) 262-5652 to schedule a consultation and let us help you build a solid foundation for a yard you can enjoy for years.